Your Cart is Empty

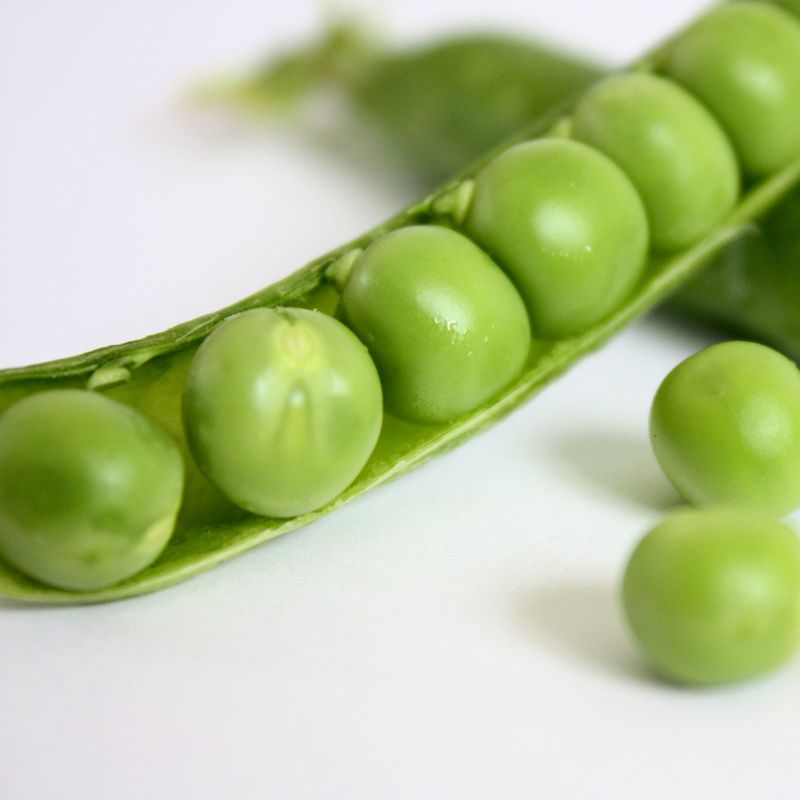
With this being the first Pea harvest of the Season I couldn’t not make this week’s blog all about these delicious green “balls”. Their size may be small but their flavour sure isn’t!
Did you know Peas actually happen to be one of the most popular vegetables?! Especially with kids. They are proof that good things come in small packages!
Where to Store them? For best flavour, store peas for up to 5 days in the refrigerator in a breathable bag.
Cooking Tip: Boil your peas for 2-3 minutes, using the minimum amount of water needed, and don't add salt, as they'll toughen up. A pinch of sugar will bring out their sweetness.
I’m sure most if not all of you have had peas before, but did you know you can actually keep, cook and enjoy their shell too?! Keep reading to learn why you will want to keep those shells out of the compost bin! 😊 Happy Summer & Cooking!
Recipes
Simple Sautéed Peas
Created By: Katie Webster
This recipe for simple sauteed peas is an easy way to transform fresh peas into a delicious side dish. They only take 10 minutes to make but are festive enough for a holiday meal or family gathering. The recipe can be doubled.
Ingredients:
1 TBSP extra-virgin olive oil or unsalted butter
2 cloves garlic, minced
2 cups fresh shelled peas
1/8 tsp salt Freshly ground pepper, to taste
Chopped fresh dill or chives for garnish (optional)
Instructions:
1. Heat oil or butter in a large skillet over medium-high heat. Add garlic and cook, stirring until fragrant, about 30 seconds.
2. Add in peas, salt and pepper, and cook stirring until the peas are crisp tender and still bright green, 3 to 5 minutes. (For fresh peas, they should not taste “starchy” anymore.
3. Remove from the heat and sprinkle with dill or chives if desired. Serve hot.
Sweet Pea and Radish Salad Recipe
Created by: Traci – Vanilla and Bean Sweet and plump, the freshest veggies shine in this sweet pea salad recipe. Using fresh peas, this healthy green pea salad is easy to make! Bonus it is easily portable and make ahead ready, perfect for a Summer gathering/potluck! This recipe is vegetarian + gluten free and easily vegan.
Ingredients:
For the Salad: 3 Eggs optional 4 cups Fresh green peas 1 cup Radishes sliced thin, about one bunch 1/2 cup Chives chopped thin or 2-3 scallions, green parts only Pea Shoots, Microgreens, or Bibb Lettuce optional for serving
For the Dressing:
3 TBSP Extra Virgin Olive Oil
1 TPSP Water plus more to thin
1 1/2 tsp Maple Syrup
1 TBSP Apple Cider Vinegar
2 tsp Prepared Horseradish or dijon mustard (if you don’t have horseradish, you can use more mustard)
1 TBSP Dijon Mustard
1/2 tsp Fine Sea Salt
Instructions:
Boil the Eggs:
In a medium sauce pot, place eggs in water and bring to a boil. Remove from heat and lid for 10 minutes. Drain and place eggs in cool water. Peel eggs, then chop. Set aside.
For the Salad:
Prepare the Peas: Bring a small sauce pot of water to a boil. Meanwhile prepare an ice water bath. Plunge the peas into the boiling water. Blanch the fresh peas for 2 minutes, (the water does not have to come to a boil again). Drain the peas into a small colander, then set the colander into the ice water bath to halt cooking.
Place the peas into a medium mixing bowl and set in the refrigerator while preparing the remaining ingredients.
For the Dressing: In a lidded jar, add the olive oil, water, maple syrup, apple cider vinegar, horseradish (if using), dijon mustard and salt. Shake until the ingredients are emulsified.
To Assemble: To the mixing bowl with the peas, add the radish, chopped eggs, scallions or chives and pour the dressing over the salad (to taste). Add a few twists of fresh ground black pepper and toss the salad. Taste for seasoning adjustment.
Scatter pea shoots or microgreens if using over the top of the salad. Or plate on a bed of bibb lettuce leaves. Garnish with chive flowers if possible.
Refrigerate if time permits for at least an hour prior to serving.
Quick Pasta with Peas
Created by: Katia
An easy and delicious weeknight meal the whole Family will love. Ingredients: 1 TBSP olive oil, plus more for drizzling 1 small onion, diced 1 lb peas, fresh 2 cups vegetable broth or hot water ½ lb short shaped pasta salt & pepper to taste ½ cup freshly grated parmesan, plus more to serve Instructions: 1. Warm the olive oil in a large pot over medium heat. Add the diced onion and cook until the onion has softened and is turning translucent, about 5 minutes.
2. Add the peas and cook stirring frequently about 1 minute.
3. Then add vegetable broth (or water), raise the heat, bring to a boil and stir in pasta and salt (I use 1 tsp of salt and then I adjust the seasoning at the end). You might need to add or to reduce the amount of water according to the type of pasta.
4. Cover with a lid, reduce the heat and cook your pasta in the starchy water. During the cooking time, you need to stir often until the water is absorbed, otherwise, it will stick to the bottom. The water should barely cover the pasta, but it's fine, add extra water gradually only if needed.
5. Cook until ready but firm to the bite. Turn off the heat and stir in freshly grated parmesan cheese until melted. Taste and adjust the seasoning.
6. Serve immediately with a drizzle of olive oil, black pepper, and extra parmesan cheese if you like. Enjoy!
Green Pea Curry Hummus
Created By: Minimalist Bake
Who doesn’t love hummus?! This recipe gives a delicious green twist to a classic dip/spread! Creamy, flavorful hummus infused with green curry spices, citrus, and herbs. Green peas add protein and texture to this easy dip that pairs perfectly with crackers, pita, chips, or vegetables.
Ingredients:
1. Steam and cool green peas. Fill a medium saucepan with 1/2 -1 inch of water and place peas in a steamer basket over the water. Steam until vibrant green, then carefully remove steamer basket from heat. Allow peas to cool.
2. Heat a medium skillet over medium heat. Once hot, add 1 TBSP olive oil, shallot, and garlic. Sauté, stirring frequently, for 2-3 minutes, or until softened and slightly browned. Remove from heat and set aside to cool.
3. In. a food processor add remaining 1 TBSP olive oil, ginger, drained chickpeas, curry paste, tahini, lemon and lime juice, salt, cilantro, and sautéed shallot and garlic. Mix/pulse until well mixed and mostly smooth. You may need to add a little water to encourage blending if too thick — keep in mind it will thicken up when refrigerated.
4. Taste and adjust seasonings as needed, adding more curry paste for intense curry flavor, ginger for zing, lime or lemon juice for acidity/brightness, salt for saltiness, or cilantro for freshness.
5. Once the flavor is where you want it, add peas and stir with a spoon to keep them whole, or pulse a few times to slightly chop the peas. Serve with another drizzle of olive oil and a little fresh cilantro.
6. Enjoy this dip with crackers, pita, pita chips, or vegetables. Store leftovers covered in the refrigerator up to 4-5 days.
Don’t throw away those pods!
Created by: Blue Apron
You will notice with all of the above recipes you are left with a pile of empty pea pods! But just because they’re empty doesn’t mean they’re worthless. Get that idea out of your head. Just like the peas inside, the pea pods contain summer’s flavors (and nutrients, too). With just a few extra steps, you can turn those pea pods into a gorgeous green puree to use in sauces and pasta dishes—or even as part of a cocktail!
Instructions:
How to cook pea pods:
1. Reserve those shells instead of throwing them away.
2. Next, blanch them by adding them to a pot of boiling water. Cook for 30 seconds to 1 minute. You’ll notice that the pods turn a beautiful bright green. Then, transfer them to a blender, but don’t discard the water just yet.
3. In the blender, puree the blanched pea pods with a little bit of the blanching water.
4. Once smooth, scoop the puree right into an ice bath. We like to use a bowl that’s set over another bowl full of ice water. Chilling the puree immediately preserves those bright green colors. Don’t skip this step! Without the ice bath, the puree will turn army green or brown.
5. That’s it! Now you have a beautiful emerald green pea shell puree.
Now what?
Here are a few suggestions for using your I-didn’t-waste-a-drop pea puree:
• Fold into pasta dishes
• Combine with ricotta cheese and spread onto bread as a crostini
• Use as a sauce
• Use as a garnish
• Special cocktails
• Mix into smoothies or juices Which are you trying first?
Friendly Reminder: Looking for additional inspiration? ALL recipes from the past two years are available on the blog for reference. 😊
Comments will be approved before showing up.