Your Cart is Empty
Congratulations on taking the exciting step of purchasing a nuc colony! This decision marks the beginning of your beekeeping journey, and we're here to guide you through what to expect and how to ensure your colony thrives.
What's Inside Your Backed By Bees Nuc:
Our nuc colonies are carefully crafted from our parent/full-size colonies, ensuring uniform strength and quality. You'll be receiving overwintered, locally mated Buckfast bees, known for their adaptability and productivity. Here's what your nuc will include:
What to Expect in Your First Season:
Your colony's performance in the first year will depend on various factors including weather, timing of purchase, hive equipment, and additional resources provided. While it's uncommon for colonies to produce honey in their first year, any surplus would be a delightful bonus!
Preparation Before Pickup:
Before collecting your nuc, it's crucial to be well-prepared. Educate yourself by reading books, watching videos, and taking an introductory beekeeping course from a reputable source, after all…you want to be able to keep your bees alive! As a beekeeper, you'll play multiple roles—caretaker, landlord, and vet—so be ready to wear different hats. Choose your hive location beforehand to streamline the installation process. Setting up your full size hive equipment in the location you have picked out before nuc pick up allows you to utilize different methods for installing your nuc.
Picking Up Your Nuc:
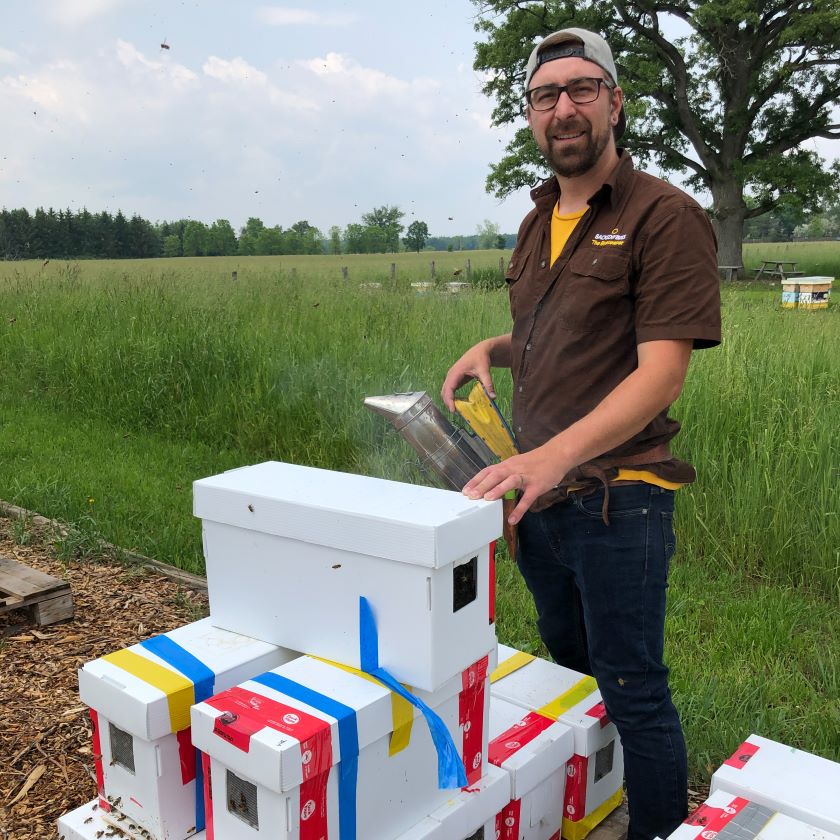
On pickup day, be prepared for any unforeseen circumstances. While the nuc box is sealed (lid taped closed), a few bees may escape or other bees may be attracted to the box's scent and will find their way into your vehicle. You will need to be able to deal with them and be able to deal with any unforeseen circumstances from nuc pick up to their new home. Equip yourself with essential gear including your hat and veil (or suit), hive tool, smoker, fuel, and gloves, just in case you need to work on your nuc before you get them to their new home.
While these scenarios may seem dire, I've never received reports of extreme mishaps when transporting bees home (and I update this information annually). However, it's always wise to be prepared for any situation.
Ensure proper ventilation during transportation to prevent overheating.
Bees are extremely susceptible to overheating. I can't stress that enough, Bees are incredibly easy to overheat! Ensure a direct trip home without stops, and if traveling a distance, fuel up beforehand. Ideally, provide circulating outdoor air during transport such as in a truck bed or car with open windows. If transporting in a car, ensure the AC is on and directed towards the nuc box. The bees should never make the trip home in the trunk of a vehicle as temperature control is difficult. As long as you are comfortable in the cab temperature-wise, the bees will be fine with you.
Installing Your Nuc:
There are various methods to install your nuc, but the key is to transfer bees to full-sized equipment within four days. The nuc box itself is only a temporary home for the bees.
The 4 frames of the nuc should not be separated by other frames, and should be put all together into the middle of your brood chamber. If you plan on running your hive(s) as double brood chambers, your nuc should be introduced into the middle of a single brood chamber with the second being added later as they fill the first.
There are multiple different ways to install your nuc. The nuc box itself is a temporary home for the bees and the bees should be transferred from nuc to full sized equipment within 4 days of receiving the nuc. The 4 frames of the nuc should not be separated by other frames, and should be put all together into the middle of your brood chamber. If you plan on running your hive(s) as double brood chambers, your nuc should be introduced into the middle of a single brood chamber with the second being added later as they fill the first.
Post-Installation Tips:
After installation, resist the urge to disturb your bees for the first 3-5 days. Your bees just moved, took a car ride, are looking up at a new face (or faces), and are in unfamiliar territory. Allow them time to settle into their new home and adapt to the surroundings. Patience during this period will set you and your bees up for success.
We wish you the best of luck on your beekeeping adventure! Remember, patience, observation, and continuous learning are essential ingredients for a thriving beekeeping experience. Enjoy the journey and the fascinating world of beekeeping!
Dave, The Beekeeper.
Thank you for the support and startup tips – very helpful
Question : how soon can a second brood box and honey super be added?
Also I have not received my receipt for payment (cash) from my Friday May 17th pick up …Comments will be approved before showing up.

R
February 24, 2025
You do not explain how to introduce the queen when setting up a new hive. Could you deal with this point please? RK